One dead cell in a 30 panel array can drag down the output of every panel wired to it. Not by a little. String wiring means current has to push through the weakest link, so a single overheated cell acts like a kink in a garden hose. You keep paying the loan, the sun keeps shining, and your electric bill stays higher than the math says it should.
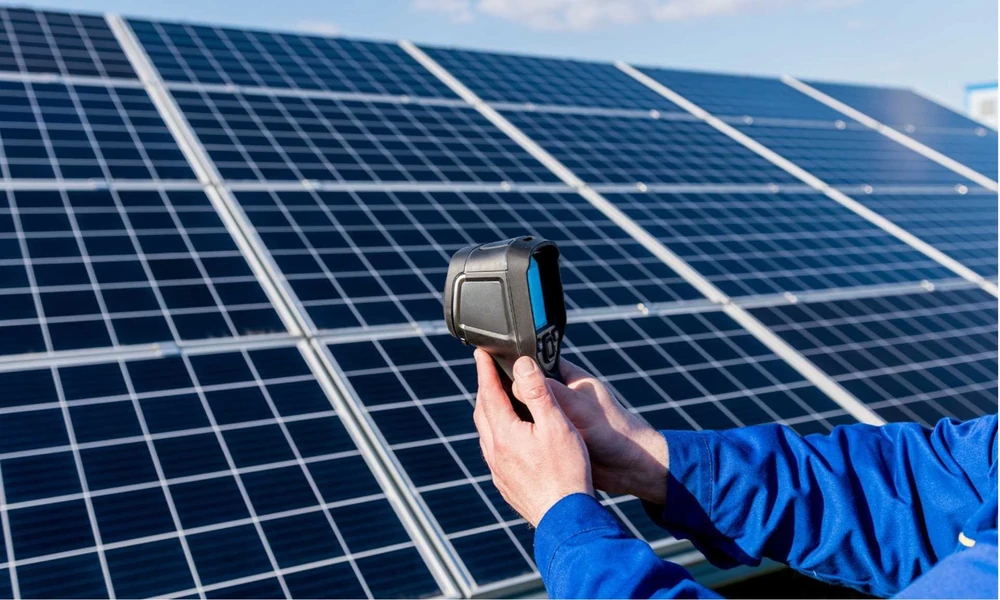
I have watched homeowners stare at a monitoring app for months, convinced their inverter was broken, when the real fault was a cracked cell hiding under a layer of dust. You cannot see it from the ground. You cannot feel it with your hand. But an infrared camera spots it in seconds, because a failing cell runs hotter than its neighbors, and heat is the one thing a solar panel cannot hide.
Here is what that scan actually reveals, why hot spots form, and how to tell a real defect from a shadow that will vanish by noon.
Why Do Solar Panels Run Hot in the First Place?
Making electricity warms a panel up. That is normal and expected. A healthy module under load spreads heat evenly across its face, so a thermal image shows a smooth, uniform glow from edge to edge. The U.S. Department of Energy’s Office of Energy Efficiency and Renewable Energy describes photovoltaics as a technology where light excites semiconductor material into producing current, and that current always carries some waste heat with it.
That baseline matters, because the whole inspection method depends on contrast. When every cell behaves the same way, the camera sees nothing interesting. When one cell lags, the current from the healthy cells gets forced through it, and the resistance turns that cell into a tiny heater. On screen it looks like a lit match in a dark room.
I think the most underrated part of this whole process is how early the signal shows up. A cell can run measurably hotter for weeks before it fails outright. That gap is your window.
Hot Spots Are the Symptom, Not the Disease
A bright blob on a thermal image tells you where the problem is showing up. It rarely tells you what caused it. That distinction is where a lot of DIY inspections go sideways, because people replace the wrong thing.
Common root causes I would look for:
- Cell cracks from manufacturing stress, hail, or someone stepping on the module during installation
- Partial shading from a palm frond, a vent pipe, or a new tree the neighbor planted
- Failed bypass diodes inside the junction box, which stop isolating a bad section
- Loose or corroded connections at the MC4 plugs and the combiner box
- Soiling that sticks to one area harder than the rest, like bird droppings or salt film near the coast
- Delamination or moisture intrusion under the glass
Notice that only one of those is a panel problem. Two of them live in the wiring, one lives in the junction box, and one is a cleaning issue you can solve this weekend. A good scan narrows the list fast, and that saves you from paying for a module you did not need.
According to material and measurement standards published by NIST, thermography depends on accurate calibration and controlled conditions to produce trustworthy readings, which is the technical reason a midday scan on a hot roof without a reference point can mislead you.
The Three Signatures a Thermographer Reads
This is the part that separates a trained eye from someone who just bought a camera. You are not looking for heat. You are looking for patterns, and each pattern points somewhere different.
Even glow. Uniform warmth across the whole module and its wiring. Everything is connected and pulling its weight. Boring, and exactly what you want.
Bright spot. A concentrated hot cell or small cluster. Usually a crack, a diode failure, or stubborn soiling. Single-cell hot spots are the ones that chew through output and, in bad cases, scorch the backsheet.
Cold spot. A cell or string running cooler than everything around it. That is a cell that has stopped producing. It looks harmless on camera, and it is arguably worse than a hot spot, because a dead cell still lets the rest of the string push current through it.
I would rather find a cold spot than a hot one. Cold means the damage is already done and the fix is known. Hot means something is actively burning energy you paid for.
What to Expect During an Actual Inspection
Timing is everything, and this trips people up. You want the array under real load with steady sun. Early morning or late afternoon gives you weak contrast and shadow noise that makes the images nearly useless. Midday, clear sky, panels producing, that is the window.
Here is how a proper visit should run:
- The inspector captures baseline images of the full array from the ground or by drone, depending on roof access and safety.
- They scan the modules, the DC wiring runs, the combiner box, and the inverter enclosure, since heat shows up in all four.
- Every anomalous area gets compared against a known-good reference module or an adjacent string.
- Findings are logged with panel position, temperature delta, and a photo so you can see what they see.
- You get a written report ranking each issue by urgency, with repair, cleaning, or monitoring recommended.
That report is the deliverable, not the scan itself. An image without interpretation is just a colorful picture of your roof. The IEEE maintains published standards work around photovoltaic testing and reliability, which is the sort of documented methodology you should hear referenced when you ask how a thermographer grades a finding.
A skilled team will also tell you which findings are false alarms. Wet panels after rain, a passing cloud, or a reflective window can all throw off a reading. Experience is knowing the difference.
How Often Should You Scan, and Is It Worth It?
For a residential array, once a year is a sensible rhythm, ideally right before summer when production peaks. If you have a commercial rooftop system, quarterly makes more sense, because a string running at 85 percent for three months is a real line item.
Get a scan sooner if your monitoring shows a sudden drop, if you had hail or a wind event, or if you notice discolored backsheeting or a burnt smell near the inverter.
Is it worth the money? Compare the cost of one inspection against the cost of replacing a string of modules. That comparison usually ends the debate. Most owners I talk to treat the scan the way they treat an annual HVAC service call, cheap insurance against a much bigger bill.
When you do hire someone, ask whether the thermographer holds a recognized certification and whether the report includes temperature deltas rather than just images. That question filters out the pretenders quickly. Finding certified thermal imaging for solar panels matters less for the camera and more for the person reading the screen, since a trained eye catches what an untrained one scrolls past.
What You Should Do Next
Pull up your monitoring app today and look at the last 30 days of production. If one string is consistently behind its siblings, you have a candidate for a scan, and you have it on record for the inspector.
Take ten minutes on a clear morning to walk your array from a safe distance. Look for cracked glass, brown or bubbled backsheet, droppings, and anything new leaning over the panels. Note the positions.
Then book the scan with a thermographer who will hand you a report you can actually act on, and schedule any cleaning or repair in the same visit if possible. Panels that stay cool and clean simply make more power, and you get to keep the difference.